Monday, February 27, 2012

AMK's first cooking class at Skillshare & a recipe for Lepat Pisang


lepat pisang, steamed banana parcels, Malaysian dessert
I'm so excited - I taught my first cooking class at Skillshare HQ in Soho yesterday.  It was actually my second class with the Skillshare team,  but my first at their gorgeous, spacious headquarters on Broome Street in Soho.
I arrived there at 1pm yesterday and met my lovely and talented assistant Angie as I stepped out of the elevator and she came bounding up the stairs.  No wonder she's so fit - you know when you read those articles about how to squeeze exercise into your daily routine and one of the tips is to take the stairs instead of using the elevator?  Seriously now - how many of us have actually done that?  Not me.  Ever.  And it shows.  But there was Angie,  Ms High Energy herself singing "hi!" as she literally came running up the stairs to the 5th floor!  Maybe I'll do that someday.  Maybe.  Okay - probably never. 
We set up all the ingredients I had brought and moved things around in Skillshare's kitchen to suit our needs.  At minutes to two,  two lovely ladies showed up - our first students.  Pretty soon,  every one else had arrived and we began.
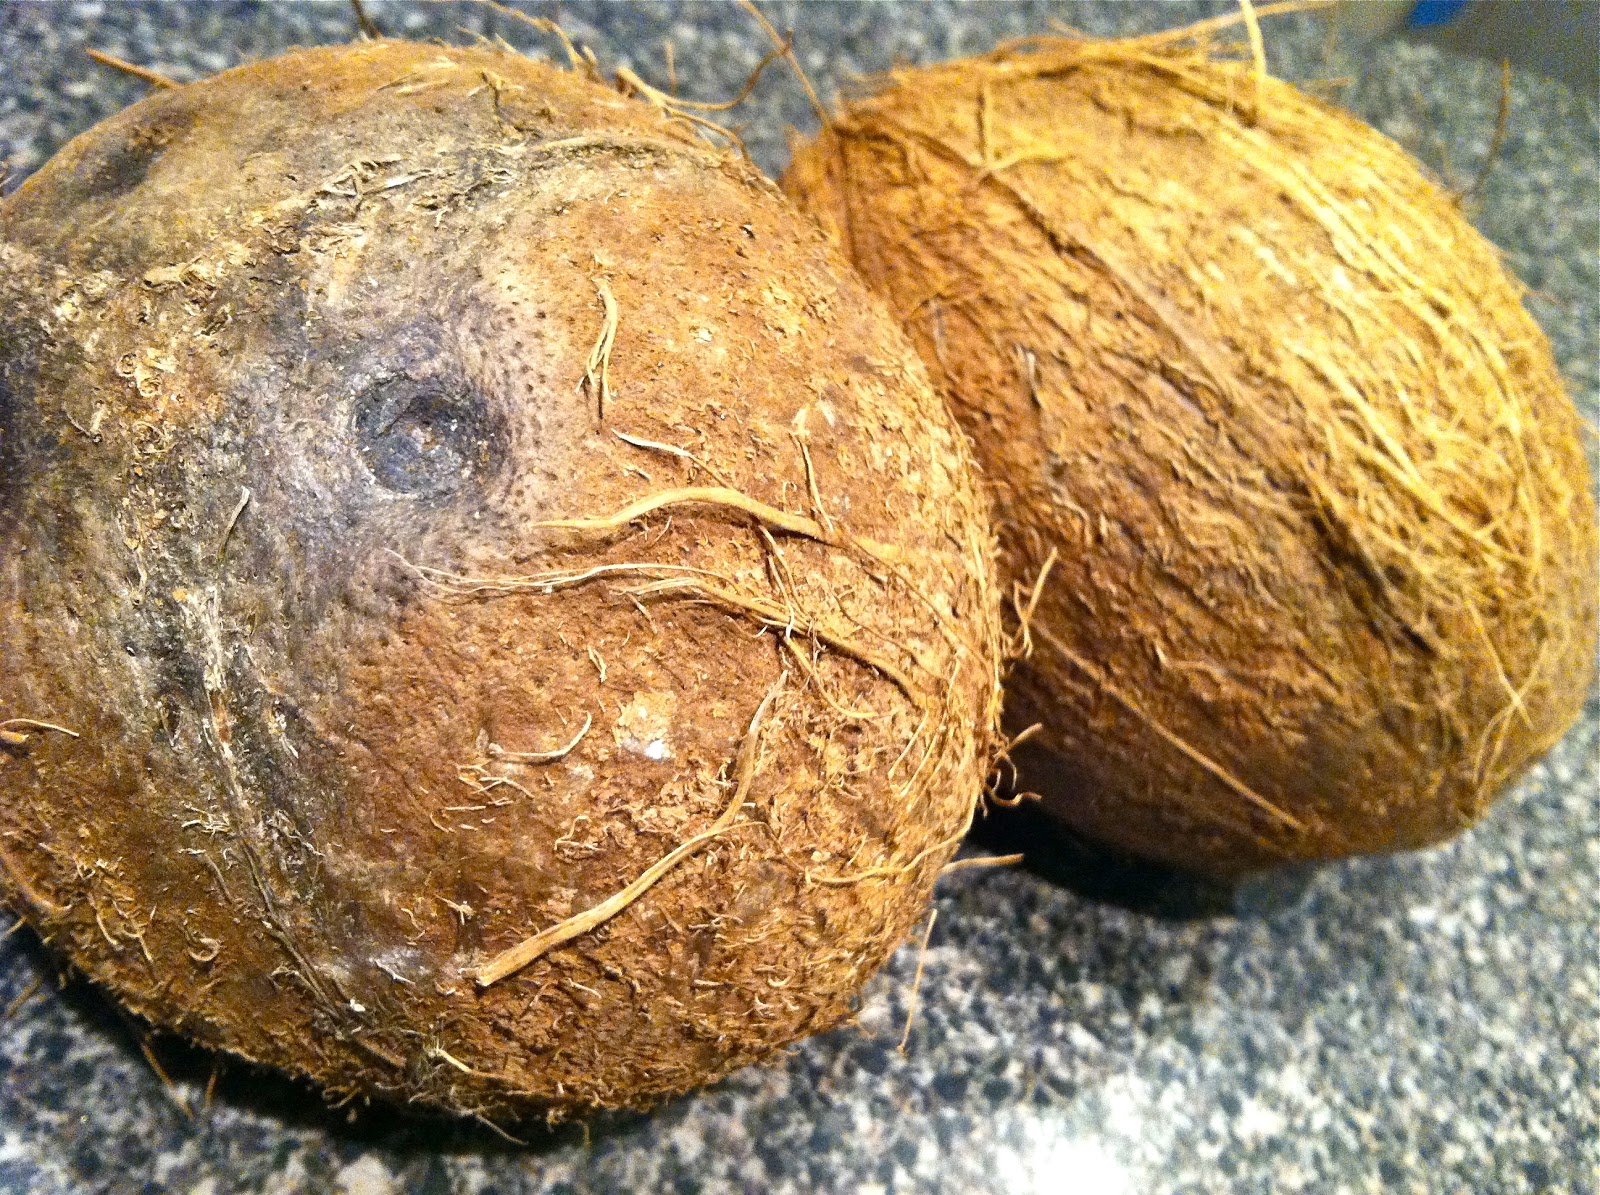
We started out making the mixture for the Lepat Pisang.  What is lepat pisang?  It's the gorgeously silky,  indescribably delicious Malaysian lovechild of banana bread and pudding, as described by Joshua M. Bernstein in his blog post about my cooking.  Wrapped in banana leaves and steamed for 30 minutes, the result is what you see in the picture above.  The Malay words "lepat pisang" translate to "wrapped bananas" - perfectly simple and so on point. We mixed up a batch (which took all of ten minutes),  covered the bowl and popped it in the refrigerator to let the flavors mingle and get to know each other.
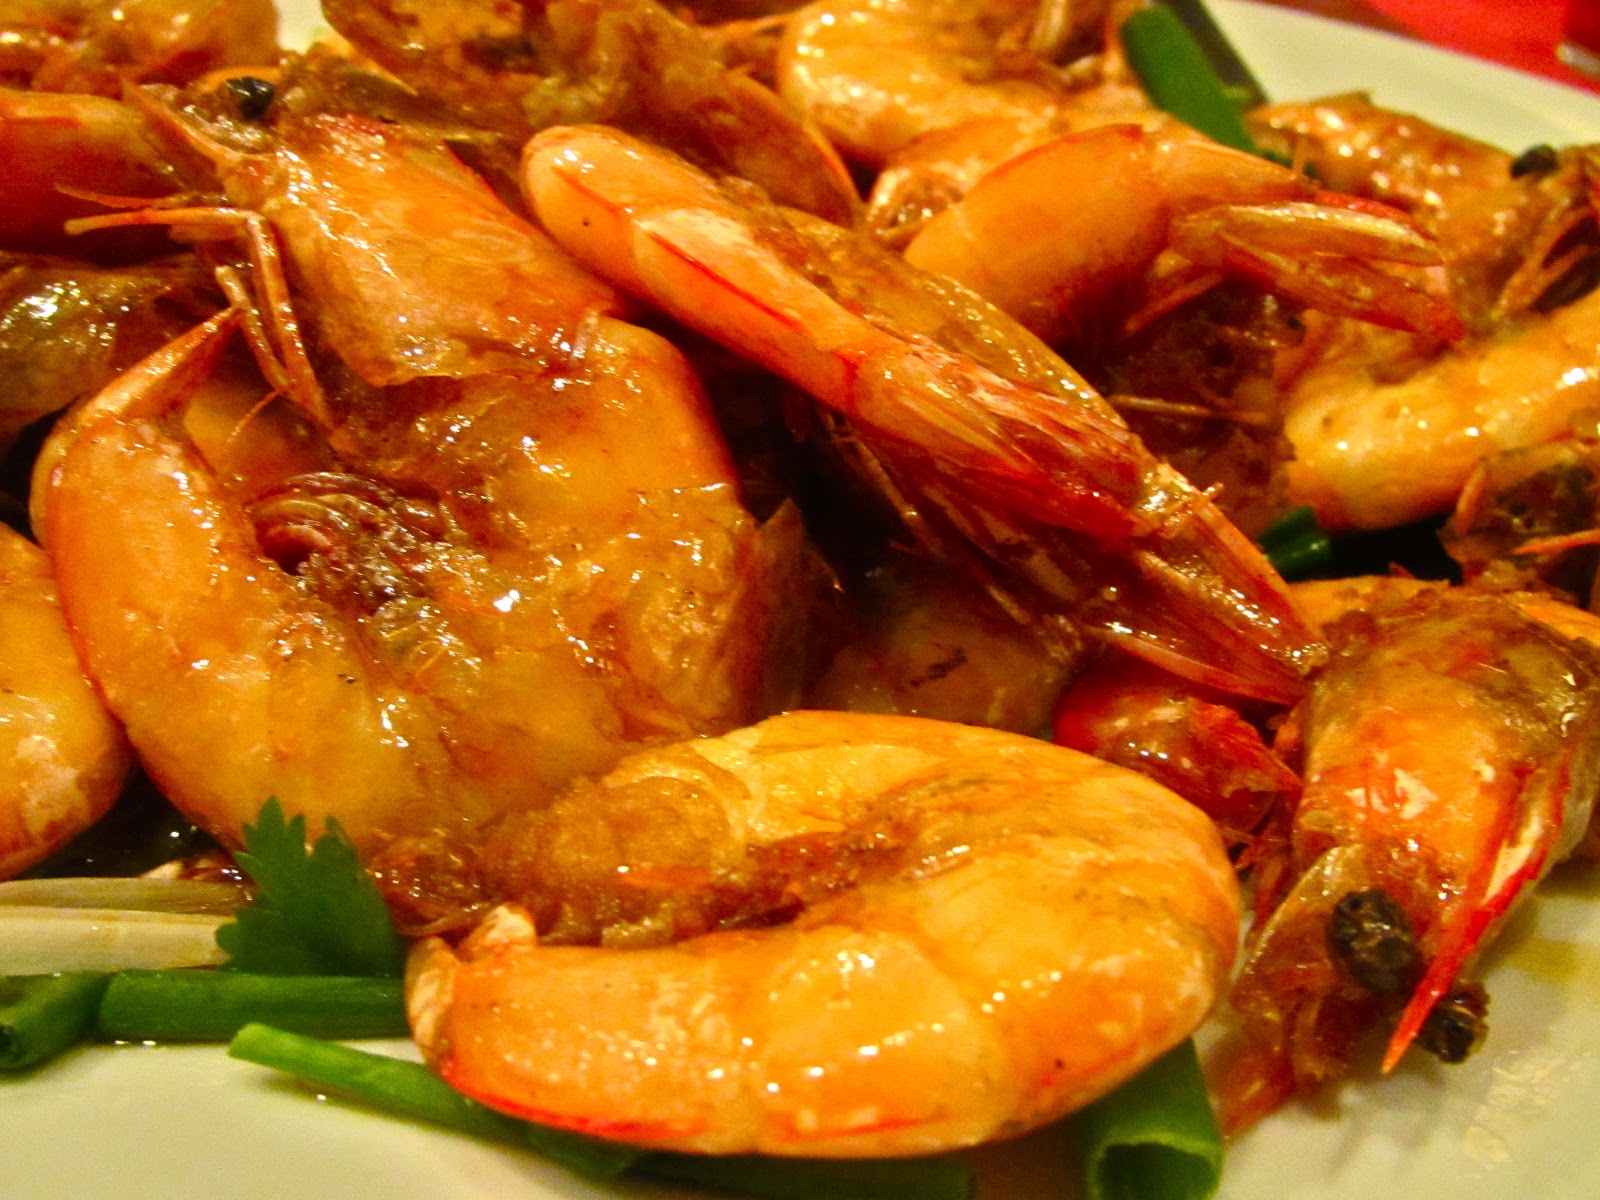
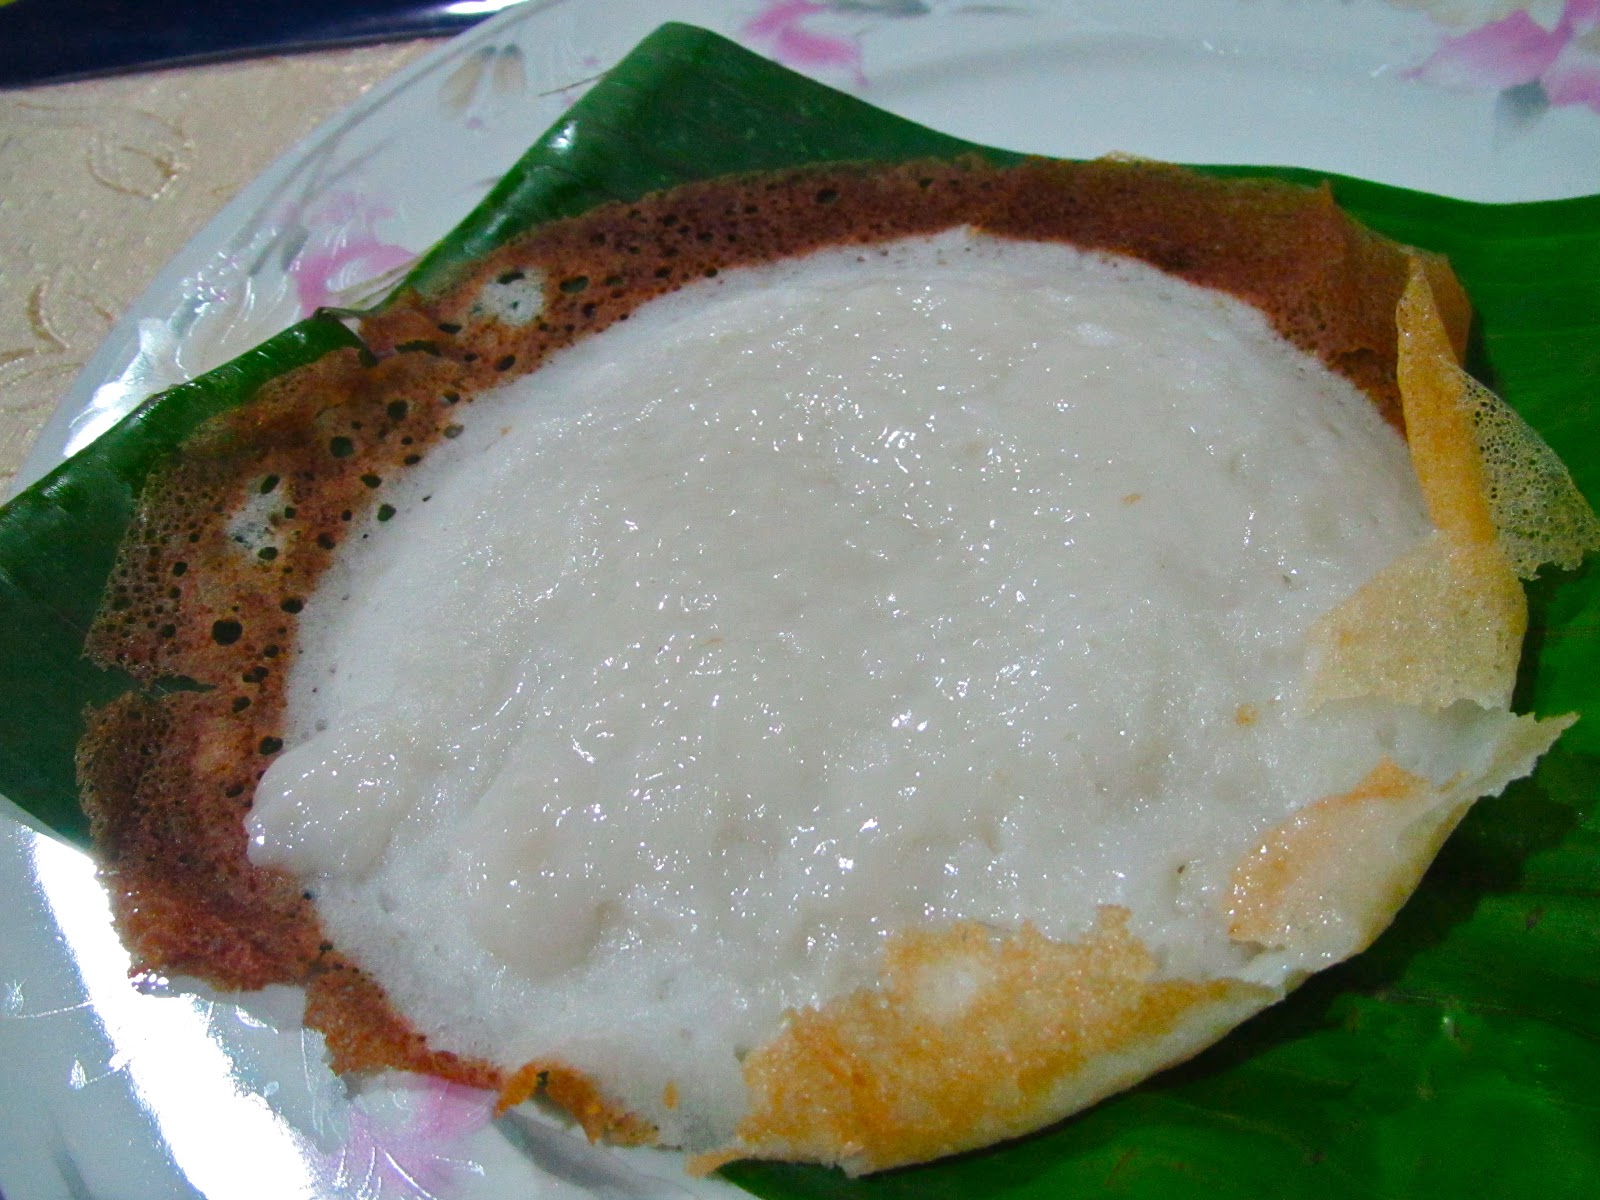
Then we moved on to my mum's famous spiced ghee rice.  The smell of the the spices and ghee sautéeing in the pan had everyone ooh-ing and aah-ing.  Everyone took turns at the stove - stirring the ingredients in the pan.  Someone volunteered to wash the rice.  He did an amazing job!  We put everything in Skillshare's rice cooker and turned our attention to the centerpiece of our class - a Singhalese-style chicken curry.  I know,  I know - I need to post that recipe ASAP.  It goes so well with the roti jala recipe here.
Next,  I shared a super easy recipe for greens - we used mini (not baby!  there is a difference) bok choy.  The greens are blanched,  then a simple sauce of oil, garlic and Vietnamese seasoning sauce is poured over them.  So easy,  so tasty and so versatile - you can substitute any tender greens with this method.
The most fun part of the class was wrapping the lepat pisang mixture in the banana leaves.  I showed them how to prepare the banana leaves - then each person was set up with a banana leaf,  a piece of pandan leaf and a heaping tablespoonful of the mixture.  I did one quick demonstration of the folding technique and they each wrapped the most perfect little parcels ever.  Such a bunch of pros!  Everyone got one more turn at wrapping a parcel and the pretty little envelopes were placed in the steamer.
skillshare cooking class in progressWhile waiting for the lepat pisang to cook,  we sat down to a delicious lunch.  I was so happy with this class - a great bunch of adventurous souls,  eager to experience something new and such a lovely, diverse group of people.  I enjoyed getting to know a little bit about each one of them - their backgrounds,  how they learned to cook and what brought them to NYC.  Now I'm seriously looking forward to teaching my next class - would anyone like to suggest a menu?
Here's my recipe for lepat pisang.  You can Google it and find lots of different recipes for it. Some recipes call for cornstarch.  Others only use all-purpose flour.  Some omit the shredded coconut and substitute water for the coconut milk.  This is my recipe for lepat pisang - the result of various trials with some of the substitutions mentioned above.  I find this to be the absolute best combination of ingredients for a silky smooth,  melt-in-your-mouth,  bursting-with-flavor lepat pisang.

Lepat Pisang (serves 6 - 8)
3 cups mashed overripe bananas *
1/2 cup all-purpose flour
1/2 cup rice flour
4 tablespoons palm sugar (jaggery)
1/2 cup coconut milk
3 tablespoons shredded coconut
A pinch of salt
18 pieces of banana leaves,  about 8" x 8" (run each piece under a hot tap,  to soften) **
2 pandan leaves,  cut into 1" pieces **

Combine the mashed bananas,  flours and sugar.  Add the coconut milk bit by bit,  to moisten the mixture enough to achieve the consistency of runny oatmeal.  Add the shredded coconut and salt,  and mix well to combine.   Don't worry if the mixture seems lumpy - this adds wonderful texture to the finished product.
Bring a large pot of water to boil for steaming.
 Lay a piece of banana leaf down on your counter and put a piece of pandan leaf in the middle.  Spoon a heaping tablespoon of the mixture right on top of the pandan leaf.  Fold the top and bottom closed,  being careful to keep the mixture in the middle of the leaf - then fold the left and right sides down to create a little envelope of the mixture.  Repeat with the rest of the mixture.  You should end up with about 14 - 18 packets,  depending on how generous you were with the mixture in each leaf. 
skillshare studentsArrange the envelopes in a steamer,  making sure not to crowd them.  It's ok to have them on top of each other,  just remember to leave space in between them so the steam has room to move.
Steam for 30 minutes.  Serve warm.

* I like to use the mini bananas (aka finger bananas or bananitos is Hispanic markets),  which can be found at most Asian produce markets.  In some Caribbean neighborhoods,  you can find these at bodegas as well.  Remember to buy them ahead of time and use them when very, very, very ripe.  Yes,  that's three "verys"! If you use regular bananas,  again, just make sure they are overripe. 

** Here in NY,  frozen banana leaves and pandan leaves can be bought at Bangkok Center Grocery,  104 Mosco Street in Chinatown or online here.  To prepare the banana leaves for wrapping,  first cut the hard middle spine of the leaf off.  Cut into the appropriate size.  Then wash each piece really well under hot running water - the hot water softens the leaf so it is easy to fold.  If you omit this step,  you'll find the leaves crack as you try to fold them up.

lepat pisang, Malaysian dessert, steamed banana parcels
Pin It

Wednesday, February 15, 2012

The Coconut Chronicles

I've been in the US for twenty years now, and all this time I've cooked exclusively with canned coconut milk.  It has its pros and cons - its a super convenient way to get that beautiful coconut-ty creaminess into dishes,  without all the hassle and mess of scraping fresh coconuts and extracting the milk yourself.  Unfortunately,  freshness is exactly what you lose in using the canned stuff and what you gain are preservatives and things like BPAs.  Yuck!  So,  here's my family's journey back to the hassle and mess - and back to gorgeous, tasty, fresh coconut milk.
The story begins with my husband lodging a complaint with the kitchen (me!) regarding the use of canned coconut milk.  He claims that while able to scarf down all manner of curried goodness back home in Malaysia without problems,  here in Brooklyn my curries with canned coconut milk made him....uhm, less than happy.  You figure out what that means.   Because of these issues,  I've cut way back on cooking with coconut milk and have been humoring him with Caribbean-style curries,  which do not use coconut milk.  On the rare occasion that I did cook with coconut milk,  it was usually because we had guests and he would refrain from indulging in the delicious curries.  The poor thing.  Over time,  a conversation began about figuring out a way to get fresh-squeezed coconut milk here in Brooklyn.  I've been very resistant to the idea because I know just how difficult and time-consuming it can be to scrape or shred a coconut so that the milk can be extracted from it.  Back home in Malaysia,  you can get freshly scraped coconut at any market and even at local neighborhood grocery stores,  then take it home and squeeze it for fresh milk.  How civilized!  When I was a child,  we had three coconut trees in our backyard and occasionally when my Mum forgot to get scraped coconut from the market,  we would get one off the tree.  I was inevitably given the tedious job of scraping the coconut - which meant pulling out a little apparatus that looked like a low-to-the-ground bench with a jagged metal blade that was used to shred the coconut into a little bowl that was placed on the floor. Highly undignified and it took forever.  Remembering all this made me very unhappy at the thought of scraping coconuts in my kitchen here in Brooklyn.  Anyway,  while we were home in Malaysia,  we tried to find a solution to the coconut scraping problem - the husband talked about it at every family dinner and with all my parents' friends.  I sullenly proclaimed that I would NOT be scraping any coconut in my kitchen in Brooklyn unless we had some sort of machine to do it.  The husband countered my brattiness with "I'll do it,  I'll do it - it'll be worth it to have fresh coconut milk." The whole community jumped into action to help us figure out a way to get fresh coconut milk - folks were suggesting places to go to find mechanical scrapers,  electric scrapers,  manual rotary scrapers. Phone calls were being made.  Heated discussions were had about what would be our best bet.  Someone suggested using a blender and was quickly shot down with a chorus of "Noooooooo,  it's too difficult to get the flesh off the shell". All the aunties were animated - Aunty Khim, Aunty May, Aunty Irene and my good friend Francisca.  Someone suggested a store on Singapore Street in Seremban and we went there with a quickness to find our elusive scraper.  We decided that the husband should wait in the car,  so we wouldn't be given the "white boy price" (yes,  that DOES happen!)  Mum went deep into the back of the shop and asked for a manual or mechanical or electric coconut scraper, while I milled about nonchalantly perusing the various woks and ladles.  She emerged with a beautiful rectangular box - my heart leapt,  I thought we had found something.   She then opened up the two sides of the box,  and out of the middle of it a very familiar looking jagged metal blade folded out - ugh,  it was a modern-day version of the coconut-scraping bench I used to use when I was a kid, only this was a "designer" one where the blade could be folded neatly into the body of the bench so it looked like a pretty little box when not in use. 
coconut scraper, hand-heldMum was trying to convince me to get it, but my childhood coconut-scraping memories had me running out of there so fast I almost drove off without her. On our last day in Malaysia,  Aunty Irene showed up at our house with these hand-held scrapers.  Thank you Aunty Irene!
They're basically a hand-held version of the little bench scraper,  so at least you're not sitting on the ground.  It wasn't the electric or manual rotary one we had in mind, and it would still be a lot of work,  but at least you would maintain your dignity.  Or so I thought. 
coconut,coconuts,husked,matureBack in Brooklyn,  our journey continued with a trip to Chinatown in Manhattan,  where I picked up these beautiful babies.  In selecting coconuts for milk,  look for a deep, brown color,  a good heft and a nice sloshing sound when you shake it vigorously.  These are signs of a mature coconut.  Young coconuts are lighter in color,  and don't slosh as loudly - maybe because the flesh inside is still soft and are not good for milk.  No slosh,  no good.  Inspect the coconuts carefully for fine cracks as that will be an indication that the coconut has probably gone bad and will only bring you heartache when you get it home and pop it open to find a pinkish flesh inside instead of pure white and a disgusting, rancid smell.
open coconut, coconut flesh, fresh coconut
The next step was to crack one of them open.  I've seen this done a million times - in Malaysia,  when you go to a neighborhood grocery store for shredded coconut,  they crack one open right there in front of you.  I tried doing this with a cleaver - it's much harder than it looks.  You need a really strong left hand to hold that coconut steady while you smack it hard with the dull side of the cleaver.  I tried this a couple of times and quickly got the sense that it wasn't going to work.  Plan B - I got a couple of empty plastic shopping bags,  an empty cup (to collect the delicious coconut water), a kitchen towel and got down on the floor.  The coconut was placed on the kitchen towel and inside the plastic bag (as I didn't want coconut water all over my kitchen floor.)  A couple of good thwacks with the cleaver and it was open.  Success.  See all that beautiful white, creamy coconut flesh?  Now for the hard part!
Since the husband had boastfully proclaimed that he would gladly scrape coconuts for fresh milk,  I set him up with a bowl,  a scraper and the open coconut.  I made myself busy with "kitchen clean up" and sat back to watch what I knew was going to happen.
coconut, scraping, shredding
Two minutes into the operation - "Wow,  this is hard."  Five minutes into the operation - "Is this thing working? Is this how it's supposed to go?"  Clean-up done,  I moved into the livingroom to play with the preschooler.  Ten minutes into the operation - "Hey!  I didn't sign up for this!!"  I walked into the kitchen to find a man stripped of his prior coconut bravado.  The coconut had won this round.  So much for maintaining our dignity.  I didn't say "I told you so", but I just typed it here in this blog post,  didn't I?  I picked up a second coconut scraper and jumped into the trenches with him.  Perhaps with a little teamwork,  we could get it done.  Twenty minutes of hard work later,  and with our forearms on fire, we had a good amount of scraped coconut but there was still white flesh in the shell - I remembered that back home when I used the bench scraper,  Mum would never let me get away with leaving all that coconut in the shell.  You scraped until you hit the brown of the shell,  or else! Mum wasn't here with us,  so we wrapped up the operation,  patted each other on the back for a job almost well done and called it a day.
I knew then and there that that would be the last time the husband would ever pick up one of those scraper thingies.  Two days later he sent me a link to a newspaper article "Man kills relative with coconut scraper."  A fate worse than swimming with the fishes.  Srsly!
I managed to get two cups of thick, creamy, FRESH coconut milk from what we had and cooked a beautiful chicken curry and some roti jala with it.  At the end of the day,  I have to admit - the husband was right.  There really is a huge difference and it definitely is worth the trouble.  Out of convenience and neccesity,  I had grown accustomed to using canned coconut milk,  but that day as I cooked with our hard-earned fresh coconut milk,  my kitchen was filled with a heavenly aroma never before smelled in our 107-year old house.  Zero preservatives,  zero toxins - 100% natural, yummy goodness.
In two days,  I'm going to be cooking a big meal that requires coconut milk for a special group of people - there are two beautiful coconuts waiting in my kitchen.  I've been looking up other ways of processing coconuts for milk and have found a few other ways of doing it on this blog.  The writer shares her way of doing it,  but if you also read the comments,  her readers share their ideas as well.  I may try prying the flesh out of the shell and using my juicer - I wonder how that will work.  Have any of you got your own coconut milk stories to share?  The coconut saga continues...
manual coconut scraper, scrape coconut Update (March 19,2012) - My husband gifted me with this beautiful contraption. It scrapes the meat out of fresh coconuts for squeezing.  It's still a lot of work for a spoiled tropical babe who is accustomed to snapping her fingers (well, not really, but you get the idea) for the freshest coconut milk and having it brought to her on a golden platter by four young, loin-clothed men..... Auria! snap out of it. And there you have it, a glimpse of what goes on inside the mind of someone who still misses the convenience of going down to the neighborhood corner store or the wet market for beautiful fresh coconut milk. This actually does the job very nicely so when fresh coconut milk must be had, it's right here at my fingertips. 
Update (January 12, 2013) - Here's an article in the NY Times about how anyone can make fresh coconut milk at home.
Pin It

Wednesday, February 8, 2012

Roti Jala

roti jala,chicken curry, Malaysian, bread
My dear husband experienced roti jala for the first time in Malaysia at the home of a longtime friend in January of 2010.  He's been singing the praises of roti jala since then and they've been falling on deaf ears here. When we were there this past December,  he once again came upon the elusive roti jala at a hotel breakfast buffet in Penang where he also got to see how it is made - with something called a roti jala funnel.  He instantly recognized it as something that we have in our kitchen - "Wait... don't we have one of those at home?"  Uh-oh - nowhere to run,  nowhere to hide! The matter was settled as amicably as possible, with me trying to distract him with the buffet's magnificent display of dragon fruit and promising to provide roti jala on a regular basis once we got back to Brooklyn. So,  two nights ago,  we had our first roti jala adventure - made with freshly-squeezed coconut milk,  which is a whole other blog post. Let me just tell you that while it is normal to use only fresh coconut milk back home in Malaysia,  here in Brooklyn it's completely unheard of and we went to great lengths to make some. 
Roti jala is a quintessentially Malaysian dish - a combination of Malay and Indian influences,  it is a wonderful example of the fusion of cultures that is uniquely Malaysian. The batter is poured into a hot pan with the aforementioned funnel, resulting in a lacy,  crepe-like, melt-in-your-mouth bread that is prefect for soaking up a spicy curry gravy. As I write this,  I'm wishing we had leftovers. Perhaps we'll have to make it again this weekend?

Roti Jala (serves 5)
3 cups all-purpose flour  - sifted
3 eggs
3 cups coconut milk
1 1/2 cups water
1/2 tsp salt
1/2 tsp turmeric powder
Coconut oil - to grease the pan
In a large bowl, beat the 3 eggs.   Add the coconut milk,  water, salt and turmeric powder and whisk well. Slowly add the flour and stir to incorporate the wet and dry ingredients, until the batter comes to a smooth consistency. Strain the batter through a fine sieve to remove any lumps - this step ensures that the batter will pass through the funnel's multiple tiny outlets instead of clogging them up.
Heat up a flat griddle pan or large nonstick frying pan and then turn the heat to medium. Grease the pan lightly - I use coconut oil whenever possible,  but your choice of vegetable oil will do just as well.
roti jala,mould,batter,panFill the roti jala funnel about halfway and let the batter drip onto the heated pan.  Beginning on the outer edge of the pan,  move the funnel in circles to create a lacy circular pattern.  My first couple of attempts at this were kinda miserable - the strands were thick and did not resemble the delicate roti jala we enjoyed back home.  It's all in the technique - with a little bit of practice, I managed to re-create these to perfection.  The trick is to keep that funnel moving quick - the slower you move,  the thicker the strands are.  Here's a video from that breakfast buffet in Penang to show you how it's done:
roti jala,funnel,mould,Malaysian foodHere's a picture of the funnel - see the five pointy things on the bottom?  If you can't get your hands on one,  but are determined to try this recipe,  have someone who is handy with a hammer and a nail punch 5 small holes in the bottom of an empty can.  Make sure to hammer down any sharp edges and be careful.  If you absolutely MUST have one of these funnel thingies,  email me at auriasmalaysiankitchen@gmail.com and we'll try and get one to you.
And finally,  here's a pic of the roti jala served with my mum's incredible chicken curry - recipe to follow shortly.  I hope you'll make this and share it with your friends and family - it's really super easy and you'll look like a genius in the kitchen. 
roti jala,chicken curry,Malaysian food, bread,crepe,Indian,Malay
Pin It

Friday, January 27, 2012

Curried Yellowtail Snapper in Parchment

Here's an easy prep,  easy clean-up way to roast fish that's basically foolproof - it's very easily modified to suit your taste and super yummy.   Once you're done serving the meal,  just toss the parchment in the trash and clean up is done.
The sauce in this recipe is merely one of an endless number of ways you could flavor your fish or seafood of choice.   As I was blending the ingredients for this sauce last night,  my mind was racing with all the other possible combinations of ingredients  - I'll post those as I make them for dinner here.  I picked Yellowtail Snapper at the fish market yesterday - these were the absolute freshest steaks in the window and they were calling my name:  "Auriaaaaaaaaa,  take us hoooome!"  Yellowtail Snapper is a lean, white-meat fish with a firm texture and a mild flavor that lends itself to whatever you can come up with to throw on it.  You can also use salmon, grouper, swordfish, tilefish, shrimp or scallops.
In Malaysia,  grilled fish is usually cooked and served in giant new lotus leaves.   Some people use banana leaves in this way as well.  I think if you're grilling or roasting,  lotus leaves are your best bet as they do not burn and flake the way banana leaves do.   I'll make a note to get some when I'm in Chinatown next and perhaps do this recipe but with a Nyonya-inspired sauce instead. 

Curried Yellowtail Snapper in Parchment  (serves 4 - 6)
4 Yellowtail Snapper steaks
2 large pieces of parchment paper
Salt and freshly ground pepper to taste

For the sauce:
2 tbsp vegetable oil
2 tbsp coconut milk (substitute with regular milk or unflavored, unsweetened almond milk)
3 cloves garlic
1/2 inch piece of ginger
1/2 red onion
1/4 tsp black mustard seeds
1/4 tsp cumin seeds
2 tsp curry powder
1/4 tsp turmeric powder
1/4 teaspoon salt 

8 thin tomato slices
1 small bunch of cilantro - chopped

Preheat your oven to 400F.
Lay a large piece of parchment paper on a baking tray.  Arrange the fish steaks or seafood of your choice in the center of the paper.  Season with salt and pepper.
Put all the ingredients for the sauce in a blender.  Blend well.   Spread generously over the fish,  making sure to cover the sides as well and reserving just a little bit of the sauce.  Lay two pieces of sliced tomato on each steak,  and spread with the remaining sauce.  Sprinkle the chopped cilantro over the dressed fish and now it's time to party!
Cover the fish with the second piece of parchment and fold the sides of both pieces together, crimping and rolling to form a tight seal.  Bake for 20 minutes - the rule of thumb for fish is 15 minutes per inch of thickness for fillets.  I added five minutes because these were bone-in steaks.  Here's what it looked like when the tray came out of the oven -
And here it is served with plain white rice and some easy sautéed spinach.  I hope you'll make this easy dish and fill me in on how it turned out for you.  Next time - Nyonya- style baked fish in lotus leaves! 
Pin It

Monday, January 23, 2012

Happy Chinese New Year!

I have not been home in Malaysia for Chinese New Year in 20 years.  This year,  in particular,  I am feeling particularly nostalgic about celebrating the event in years prior to leaving home for college.  I have so many fond memories of celebrating the New Year with close Chinese friends and family.
Mum & Aunty Khim
One thing that was a tradition for our family when we were kids was to go to my mum's closest friend Aunty Khim's house for a Steam Boat feast.  First let me tell you about Aunty Khim - seriously,  one of the best Chinese cooks I have ever encountered in my life.  I remember her always cooking this, that or the other and bringing some over to our house to share.   Do you know those prawn crackers that they serve at the Chinese restaurants?  Aunty Khim makes her own every year.  She mixes a combination of flour,  spices and finely minced prawns,  rolls the mixture into logs then painstakingly slices the logs into the thinnest chips you can imagine.  The chips are then left out in the sun to dry.  Once dried,  they are stored in tins lined with newspaper to protect them from the high humidity.  When deep fried,  they turn into the lightest,  crispiest,  most delicate of prawn crackers exploding with flavor.  Once you've had Aunty Khim's,  you'll never want to eat the huge, flavorless, sometimes hard and crunchy and often tinted with food-coloring versions you get at the Chinese supermarkets and restaurants.   Ok,  but I've lost my train of thought - we were talking about Steam Boat,  weren't we? 
Every Chinese New Year,  Aunty Khim would have us over to her house for Steam Boat - this is what we called it back home,  waaaaaay before "hot pot" became a thing here.  This is a tradition that was handed down to her by her mother and that she faithfully carried out with her own particular flair and passion every year.  We would arrive at her house at around 7pm.  There would be a long table set up outside with the bottom of the Steam Boat ready and waiting for the large "boat" that carried a flavorful broth in which to cook all the other ingredients.  We'd all mill about - kids playing,  adults chatting while inside a frenzy of prep work was underway.  Her kitchen resembled the lab of a mad scientist - large pots boiling on the stove,  serving dishes of filled with a variety of foods on every surface.  Without an inch of counter space to spare,  somehow she worked her culinary magic to perfection.  She would be slicing meats,  fish and veggies paper thin.  Prepping tofu and squid,  peeling shrimp,  washing beansprouts and watercress,  chopping garlic, frying shallots and preparing a variety of dipping sauces including that famously ubiquitous chilli sauce, without which no Malaysian meal is complete.  There would also be a variety of noodles and yong tau foo (different styles of tofu and vegetables stuffed with fish paste),  quail's eggs, mushrooms, crabs, blood cockles and mussels.  Wow,  what a lot of food - what a lot of prep!
Once the table was laden with this array of offerings,  the top portion of the steam boat would be carefully carried out to the table,  steaming with a delicious,  aromatic broth in which to cook everything and the feast would begin.  We were all provided with chopsticks and our own individual straining ladles with which to pick out whatever we wanted from the Steam Boat.  She would hover around the table,  supervising and demonstrating  - "Some things take longer to cook" and "Get that out of there,  it's almost overcooked!"  The meats,  mushrooms and seafood impart their wonderful flavors to the broth as they are cooked,  which in turn bestows these flavors to the tofu, vegetables and noodles as they cook.  I must say - the Chinese REALLY know how to eat!  Isn't that pure genius?
Another fond memory is a tradition that is particular to the Malaysian and Singaporean Chinese - a dish called Yee Sang.   It's a raw fish appetizer that is believed to usher in good luck for the New Year.  The dish is made up of a plethora of ingredients that all carry specific meanings for wealth,  health and success.   When the dish is brought to the table,  the family stands up around the table and proceeds to toss the ingredients together with chopsticks to mix everything up.  The belief is that the higher one tosses the ingredients,  the more successful the New Year will be - in our family,  that usually means that a lot of it ends up on the table!  Yee Sang is traditionally served on the seventh day of the New Year,  believed to be a very auspicious day and referred to as "Everyone's Birthday".  Aunty Khim tells me that the Steamboat feast was also traditionally held on "Everyone's Birthday".  This year,  that day falls on Sunday, the 29th of January.  I hope you'll all do a little something special this Sunday.
I could go on and on about more of the Chinese New Year traditions back home,  but I'm making myself incredibly homesick and very hungry.  You'll hear a lot more about Aunty Khim in future posts - she's my go-to for any sort of query regarding Chinese food and is always ready to help me learn something new.
What are some of your favorite Chinese New Year memories and traditions?  
I wish you all a very Happy Chinese New Year - may the energy,  vitality and courage of the Dragon propel you towards your most heartfelt dreams.  Gong Xi Fa Cai. Pin It

Saturday, January 21, 2012

Loh See Fun

I've been craving this dish since we were home in Malaysia a few weeks ago.  In my little hometown of Seremban,  there's a spot we fondly call The Square - a municipal parking lot by day,  by 6:30pm every day hawker stalls complete with rickety tables and stools fill the area with the incredible sights, sounds and smells of a vibrant Malaysian street food center.   There are between twenty and thirty separate food vendors,  each boasting a distinct specialty - the offerings range from poh piah and char kuey teow to Hokkien noodles and yam cakes.
Some of these vendors have been selling the same dish here for more than 30 years.  A good example is the poh piah lady - I remember eating that dish from her stall from way back when I was a little girl.  I have no idea how old she is now,  but the last time we were home we found that she no longer works at her famous poh piah stall - her son and daughter-in-law have inherited the business.  I was a little sad to not see her familiar face behind the glass case of her stall,  but happy that her food legacy continues with the next generation.  Her poh piah is truly the best I have ever tasted - nothing,  not even the famed poh piah of good ol' days Gurney Drive in Penang tops this.  We'll explore this some more in another blog post,  but for now let's get back to the loh see fun!
One fateful night last December,  we decided to venture to The Square to pay our respects at the shrines of all our favorite food stalls.  I had loh see fun on the brain.  We arrived there and alas! the loh see fun man was NOT THERE!!!  I was devastated and had to appease myself with two plates of char kuey teow to make up for it.
Needless to say,  loh see fun has been in my dreams since then.  Here we are back in Brooklyn and I haven't been able to stop thinking about it.  Nothing to do but make my own!  Yesterday,  dressed for the freezing cold and determined to tame my vicious cravings for loh see fun,  I trekked to Chinatown in Manhattan to find all the necessary ingredients.  The cold air felt like shards of glass in my tropics-bred lungs - nothing would stop me.  It was definitely worth the effort.
Here's the recipe and some pics - I hope you'll try this at home.  It really is quite easy.  Dear Loh See Fun Hawker at The Square - please be there the next time we are home.  Shall I send you a telegram as soon as we book our flights?

Loh See Fun (serves 6) aka Rat's Tail Noodles (oh,  did I not mention that before? :o)
2 tablespoons vegetable oil
4 cloves garlic - minced
1-inch piece of ginger - minced
1 lb ground meat (chicken or pork)
loh see fun noodles beansprouts scallions
5 dried black mushrooms - soaked in hot water for 6 hours or overnight,  then sliced
1 1/2 lbs loh see fun noodles (fresh or frozen)
2 cups fresh beansprouts
2 scallions - sliced for garnish

For the sauce:
Light soy sauce
Dark soy sauce
Sweet soy sauce
Fish sauce
Vegetable or peanut oil
Sesame oil
White pepper

Bring a large pot of water to boil - you will use this to soften the noodles when you are ready to assemble the servings.
ground chicken black mushrooms wok loh see fun

minced ginger garlic wok loh see fun Heat the oil in a wok.  Add the garlic and ginger and sauté until fragrant.  Add the minced chicken or pork (the Seremban hawker version uses pork but I used chicken because the husband does not eat pork) and sliced mushrooms and stir well to combine.  Season with one tablespoon of dark soy sauce and a dash of white pepper.  Too much dark soy sauce leaves you with a very dark and salty cooked meat,  so watch out for that.  Add two tablespoons of water to create a little gravy and let this mixture cook for about 10 minutes,  stirring ocassionally to make sure the meat is cooked through.  Once cooked,  transfer from wok into a bowl.   Now you're ready to assemble the loh see fun in individual bowls for each person.
soy sauce mix of sauces bowlSplash the following into serving bowls:  1 tsp dark soy sauce,  1/2 tsp light soy sauce,  1/2 tsp sweet soy sauce,  1/4 teaspoon fish sauce, 1/4 teaspoon vegetable oil,  1/4 teaspoon sesame oil, and a generous dash of white pepper.  I felt compelled to list these amounts just to give you an idea how little of each sauce you actually need.  Also,  be careful with the fish sauce and the oils - a little really does go a long way.   My advice would be to experiment with one serving - give it a taste and decide if you'd like a little less soy sauce,  a little more sesame oil and so on.  Honestly,  I never measure these amounts.  Neither does my beloved absentee loh see fun hawker in Seremban.  I've watched him do it a thousand times and it's just a splash of this and a splash of that.  He artfully swirls it around the sides of the bowls - you'll see from my picture that I failed at the swirl.  All my sauce ended up at the bottom of the bowl - ok,  so I lack the flair and flourish! 
beansprouts soy sauce bowlAdd a handful of raw beansprouts to each bowl.
Put a handful of noodles in a Chinese-style basket colander and immerse in that pot of boiling water - let this sit for about 20 - 30 seconds to soften up those noodles.  Drain and add the noodles to the bowls,  over the beansprouts.  The heat from the noodles will blanch those beansprouts to perfection.  There's nothing worse than soggy, overcooked beansprouts.  These will remain crunchy and add incredible texture to this dish.   Now spoon some of the chicken/mushroom mixture over those beautiful noodles and garnish with some sliced scallions.  Ta-dah!  LOH SEE FUN!  The noodles have a really nice bite to them,  the beansprouts are crunchy,  the combination of sauces is easy to master with a few tries and unbelievably tasty for how easy it is.
 I eat my loh see fun with some chopped up bird eye chillies,  marinated in soy sauce.   Remember to tell your friends to mix the noodles well as all that delicious sauce is at the bottom of those bowls.  Thank you loh see fun hawker for the inspiration.  You're a legend in my mind! 
loh see fun noodles Malaysian food
bird eye chillies cili padi soy sauce Pin It

Sunday, January 15, 2012

2am Jet-lag Khichdi

 We arrived back in Brooklyn two days ago.  Even though it was sad leaving the family behind,  it's good to be back home.  The husband says "I'm glad the eating marathon is over!" and the pre-schooler says "Why is the night funny,  mommy?"  That's her way of trying to wrap her little head around the concept of jet-lag.  There's a 13-hour time difference between Malaysia and New York,  so it's basically night for day.  We arrived on Thursday with all these notions of being good about not sleeping during the day.  All that went out the window immediately and hasn't been spoken of again since.  Yesterday we all went down for a nap at 1pm and woke up at midnight.  Hopefully we'll be a little smarter about it today.
 And what of the eating marathon?  Basically,  when any Malaysian goes home for a holiday the main focus is eating (dare I speak for the whole nation?)  So we ate and ate and ate and ate and ate our way from Seremban, my hometown,  all the way up north to Penang and back.  The chowing down did not cease until right before we got on our flight to come home.  Here's a quick glance of what we feasted on:
nasi lemak
Nasi Lemak
Roast Pig
Seremban beef noodles
Seremban Beef Noodles
Curry Laksa


char siew pow pao Malaysian food
Char Siew Pao

banana leaf lunch white rice curry
Banana Leaf Lunch
Prawn Mee
roast pork
Mum's Roast Pork
nasi lemak coconut rice ikan bilis sambal
More Nasi Lemak
Jumbo Prawns
Char Kuey Teow
appam appa Indian bread
Appam
Chinese roast pig pork
More Roast Pig
kai lan Chinese vegetables
We snuck in some veggies here & there!
cendol coconut milk palm sugar Malaysian dessert
Cendol
jumbo prawns shrimp Malaysian food
More Jumbo Prawns
apam balik
Appom Balik
Penang rojak fruit salad
Penang Rojak
taro puff char siew
Deep Fried Taro Puff


steamed whole fish Nyonya-style
Steamed Fish Nyonya-Style
I'll enlighten you all as to what each of those items are in subsequent blog posts.  Let's just say we overdid it with the eating.  Every so slightly.  Ok,  ever so waaaaaay too much.  So, with the combination of all that over-eating and all this jet-lag the question is:  What to do with these wee hours of the morning?  Why, make khichdi of course!!!  WHAT IS THAT,  you ask?!!

Khichdi is a magical combination of basmati rice,  lentils and spices - a soothing Ayurvedic prescription for all digestive woes including eating like a pig for three weeks straight.   A warm, light and restorative recipe for a gentle cleanse,  Khichdi is very nourishing,  easy to digest and assists in eliminating toxins from the system.   
There are as many varieties of Khichdi as there are different lentils, pulses and beans - my version here is based on what I had on hand in the kitchen at 2am this morning when we were all awake with a vengeance.  The basic Ayurvedic version calls for moong beans, but really any lentils that you happen to have on hand will work,  even sprouted green beans if you are unable to get to an Indian grocery. 

Auria's 2am Jet-lag Khichdi
1 tbsp ghee (substitute with butter if ghee is not easily available)
1 tsp whole cumin
1 tsp mustard seeds
1 tsp ground cumin
1 tsp garam masala (optional)
1/4 tsp asafoetida (optional)
1/2 tsp ground turmeric
1 cup chana dal -  washed and soaked for 30 minutes
2 cups Basmati rice - washed
3 cups collard greens - washed and chopped (optional)
2 potatoes - peeled and diced (optional)
Cilantro - 1 cup roughly chopped
5 - 6 cups boiling water
Salt to taste

ghee cumin mustard seeds garam masala
Ghee and spices in pot
dhall dal chana lentilsGently warm the ghee over medium heat.  Add the cumin, mustard,  ground cumin and garam masala.   Saute the spices until just slightly browned,  then add the chana dal before the spices brown too much.   Stir to combine well and add two cups of boiling water, the asafoetida and the turmeric.  Turn the heat down to low and let this simmer gently for 15 minutes. By now your house will smell like an Indian kitchen goddess lives in it.

peeled potato chopped collard greensWhile that's going,  wash the rice and get your veggies ready.  I happened to have collard greens so I used those, but really any vegetables will do.  My favorites are any green leafy veggies,  cauliflower,  pumpkin,  all squashes, cucumber and potatoes.  I added potatoes in this because my little one LOVES potatoes.  Basic Ayurvedic khichdi does not have any vegetables in it.


After fifteen minutes,  add the rice, collards, potatoes, cilantro and salt to taste.  Stir to combine and add more boiling water to cover everything.  Cover the pot and let simmer for 30 minutes.  Occasionally check the pot to make sure there's enough water so the bottom is not sticking and burning - add water if necessary.  Cook until the individual grains are soft.  Some folks like their khichdi cooked to a mush - I don't.   Serve with whole plain yogurt.

Ayurveda prescribes different spices for the different constitutions - this is a kitchen blog so I won't get into all that here but I'm sure you can find that information anywhere on the web.  The basic message of Ayurveda is "Let your food be your medicine" and this will definitely be good for us over the next week to recover from our wonderful eating holiday in Malaysia.
A note on cooking times and different lentils - the smaller the dal,  the less time it requires for cooking.  Chana dal is pretty big,  which is why I give it fifteen minutes of cooking time before I add the rice.  If I don't do that,  the rice will be overcooked and mushy and the chana dal might still not be fully cooked.  If you happen to use smaller lentils,  such as the red (orange or pink) masoor dal,  there is no need to soak them and you can add the dal,  rice and veggies all at the same time.  

More yummy Malaysian recipes to come.  Perhaps those chilli crabs next?  Happy New Year everyone!! Pin It